How to Fluff a Prelit Christmas Tree
Posted by Decorator's Warehouse
Filed in Business 16 views
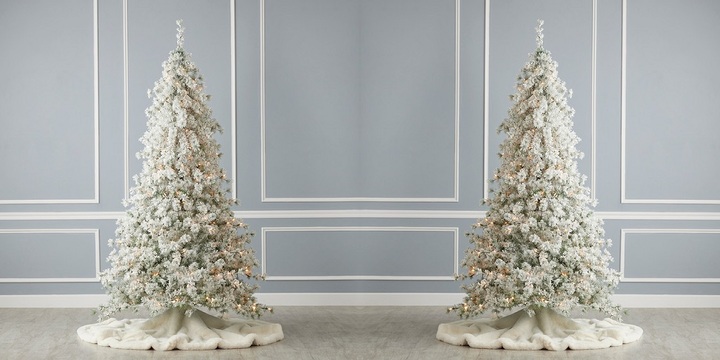
One of the greatest things about prelit Christmas trees is that they can save you time, effort and potentially even money because you won’t need to buy, string, or store light strands separately.
You still need to know how to fluff the tree after you assemble it, though. A properly fluffed tree will look bigger, healthier, and fuller. This short post will offer you some basic insight on how to fluff like a professional decorator.
Tip: Light the Tree Before You Start
Our first tip is to switch the prelit Christmas tree on before you start fluffing it. Working with the lights on will make it easier to see where the tree has dark areas or areas that have voids that need a little extra attention.
Tip: Work with a Friend or Take Frequent Breaks to Step Back
Our other pro tip is either to work with a friend or else to take breaks and step back so you can see the progress of your work. Either your friend can be your second set of eyes, or you should take breaks so you can step back and see what the tree looks like as you’re fluffing it. Try viewing from different angles as well as you work.
Fluffing a Prelit Christmas Tree: The Process
Fluffing a prelit Christmas tree is easy enough. Start by assembling the tree, then start working one section at a time. We recommend starting at the bottom.
(Here’s another pro tip, by the way. If you find that the branch tips or needles are uncomfortable to handle or scratch your skin, wear gloves as you fluff the tree.)
Pull the brand tips away from each other and set the tips at slight angles to eliminate some of the negative space between them. Work with one branch, opening up the tips, before moving to the next. Don’t just pull them laterally; you can point some tips upward and angle others slightly downward to make the tree look more lush and full, too.
As you fluff the branches that are closer to the trunk/pole, lift the tips of some of these vertically as well. This will help to hide the pole, help eliminate dark spaces, and, as stated, make the whole prelit Christmas tree look more full.
As you work, pull apart any branch tips that are stuck together. Branch tips often get stuck together when trees are compressed for storage, but they look much better when separated.
When you finish the bottom of the tree, take a step back to see how it looks before progressing to the next highest row of branches.
Here’s another tip: you should point a few of your branch tips upward as you fluff the tree, as this effect is present in many natural evergreen trees.
Once you get to the top of the tree, take a step back and see how it looks. If the tree is filled out and the lights look evenly spaced, you can start adding your ribbon, Christmas ornaments, picks and sprays, and other decorations.
Add Your Ornaments and Other Decorations and Enjoy the Magic of the Season
Now that you know how to fluff a prelit Christmas tree like a professional decorator, you can finish your Christmas decorations. Your best Christmas ever starts right now, so take the reins!
For more information about Christmas Decoratons and Red And White Christmas Tree Please visit: Decorator's Warehouse.